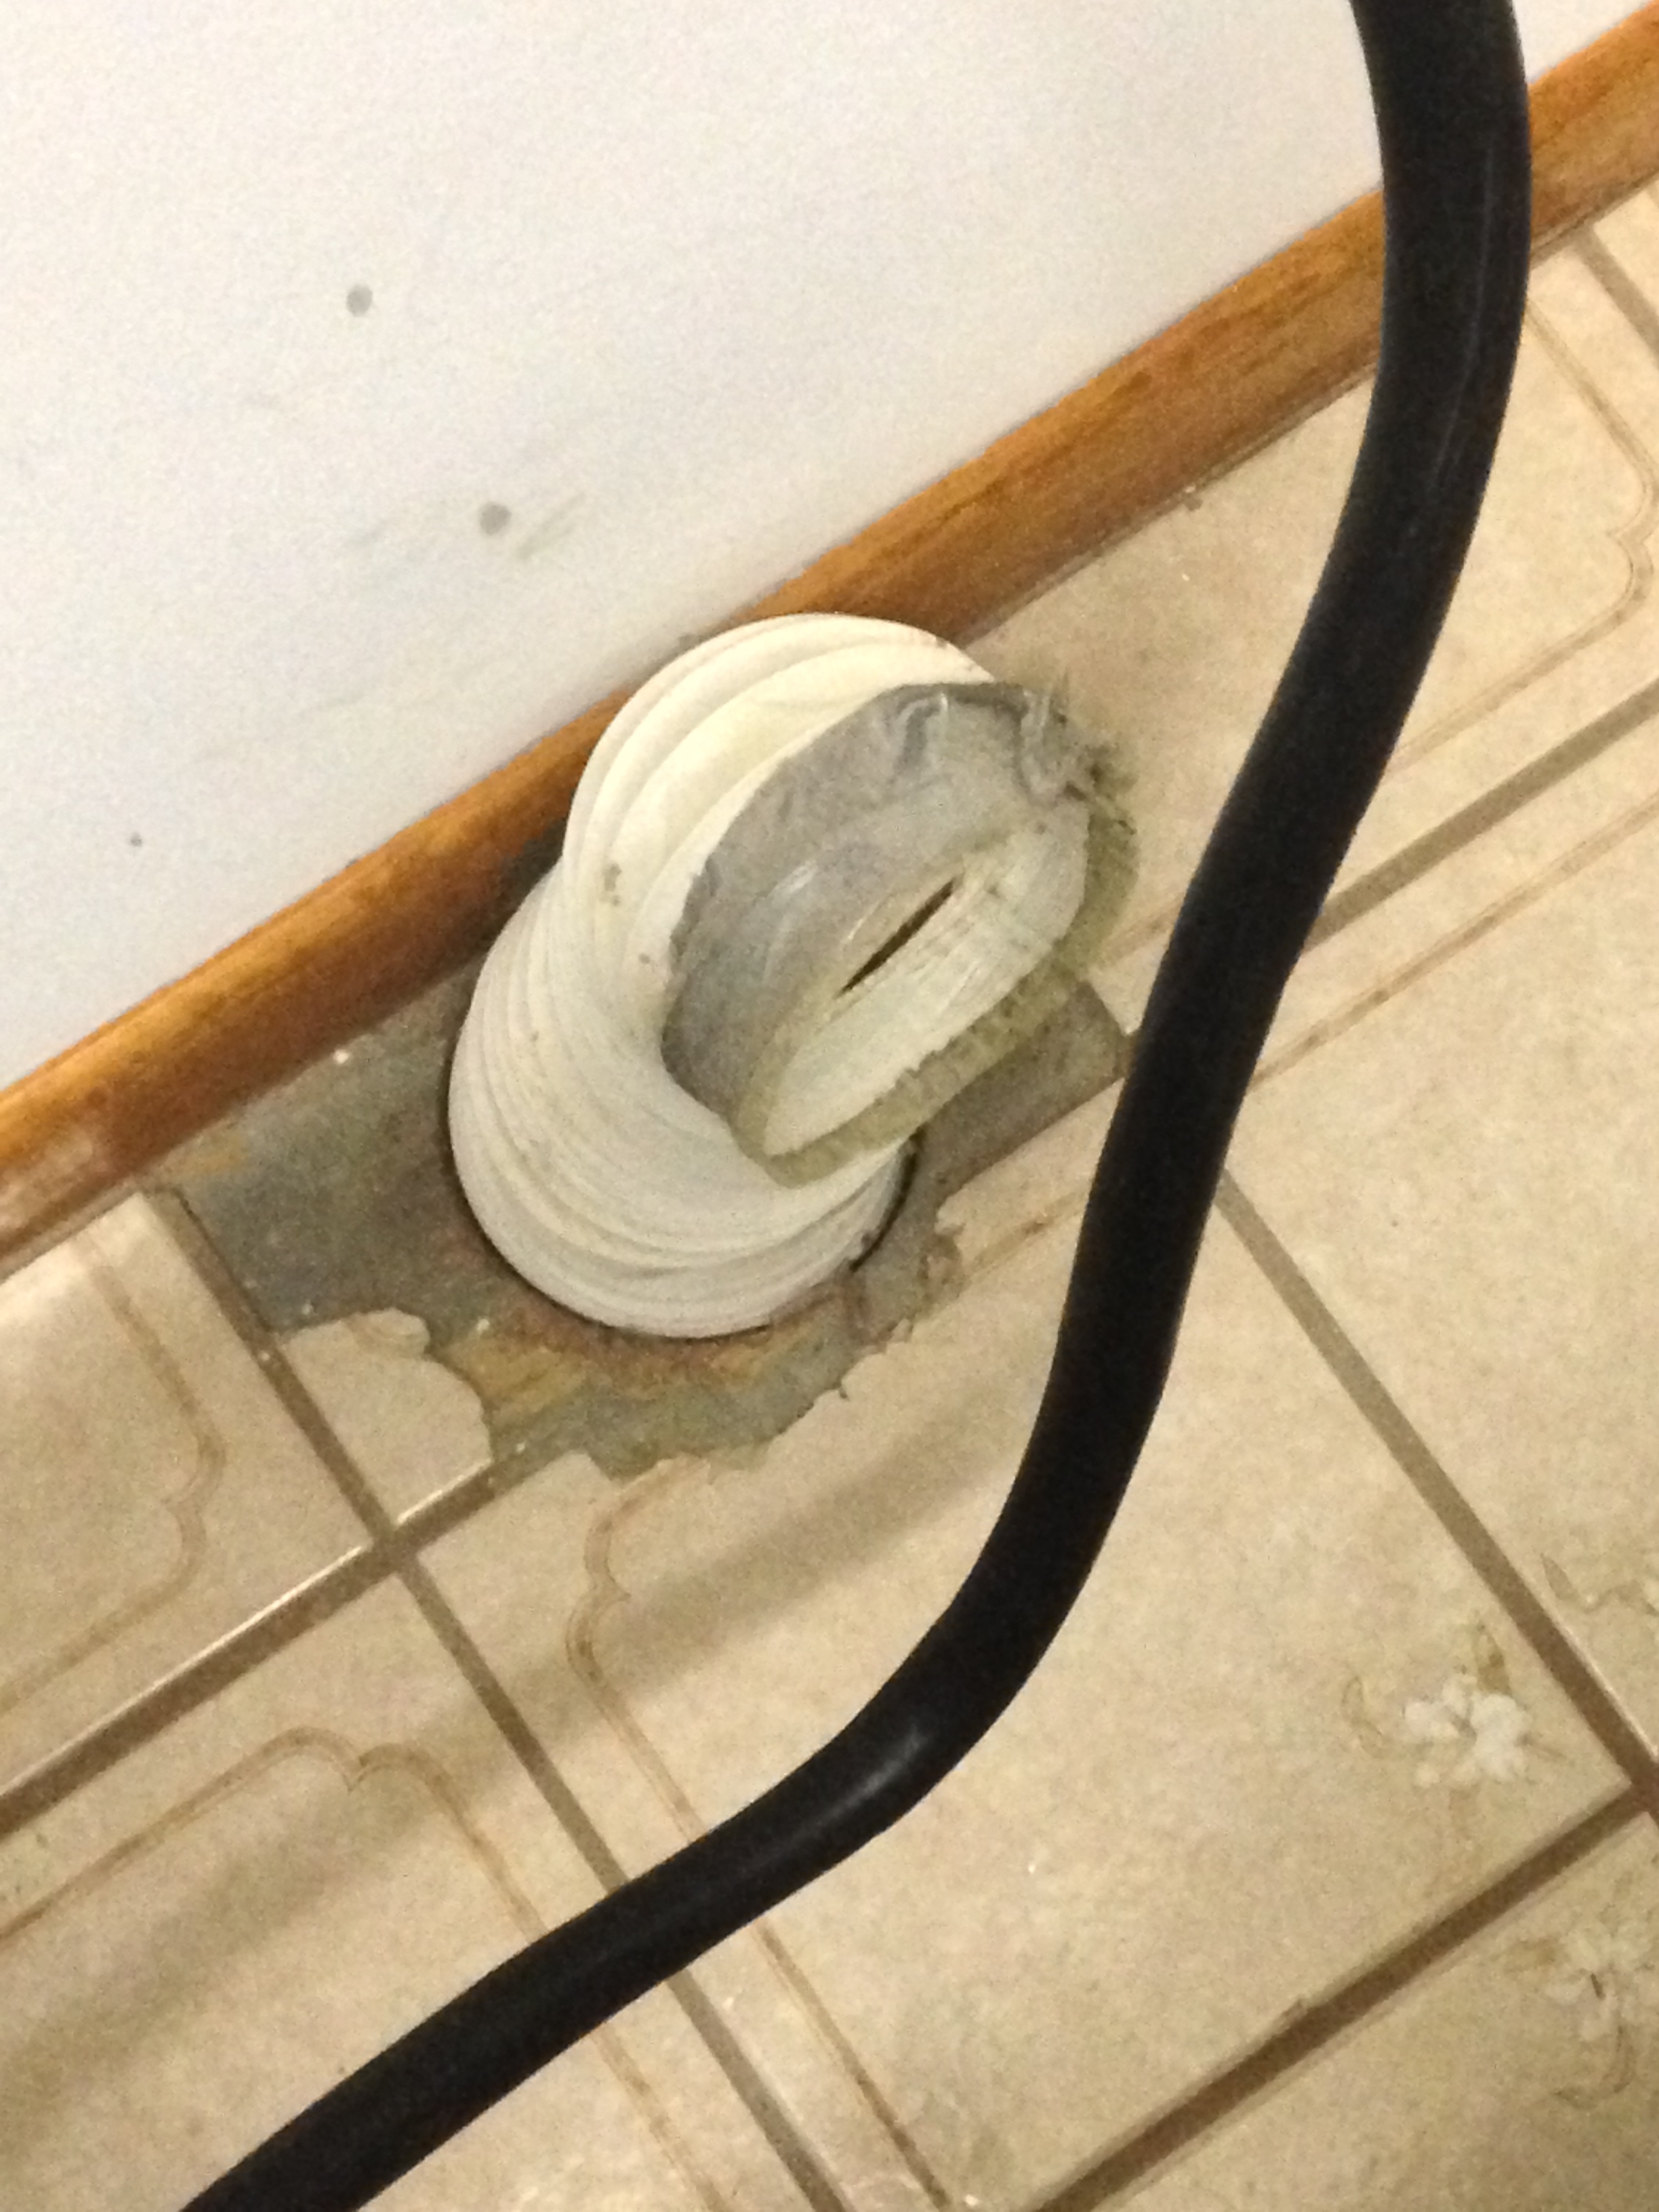
The new washer and dryer arrived and sadly, L—s, was unable to connect the dryer exhaust because it had the old plastic type of exhaust duct hose. Because this type of hose is now considered a fire hazard, the company firmly states that this is their policy. I respect it. So this meant, I had to upgrade the dryer exhaust venting system.
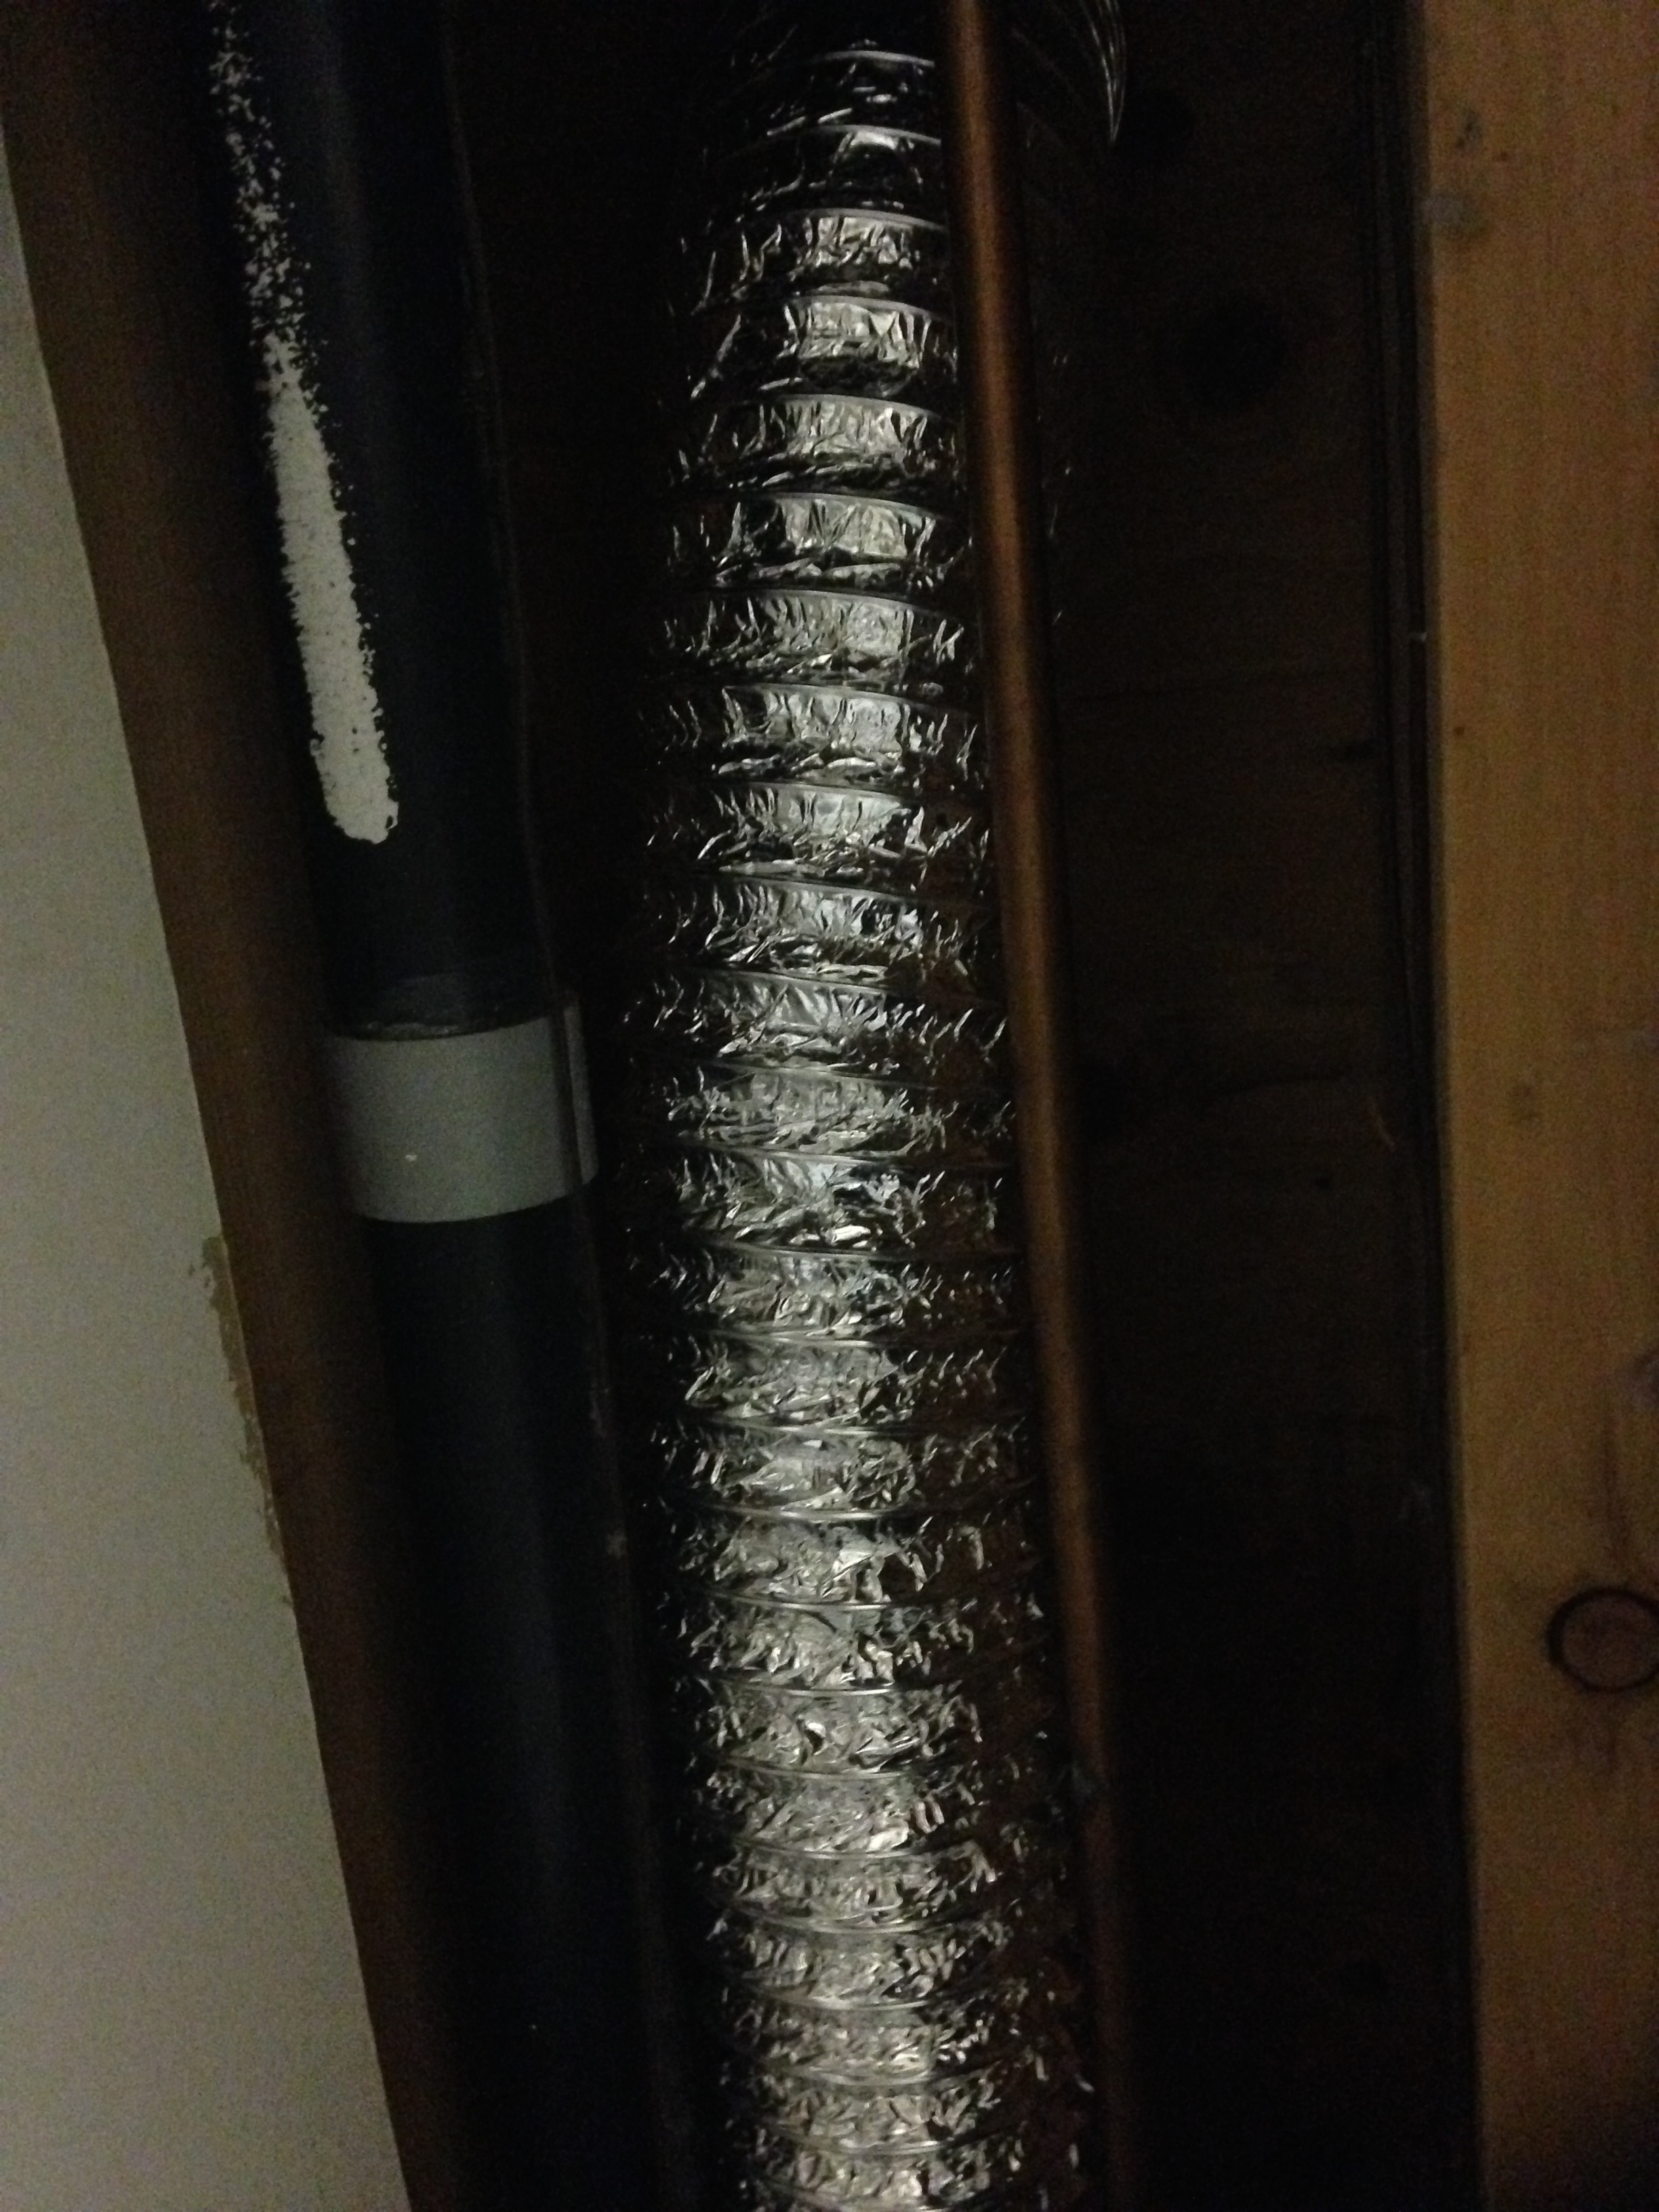
Because this type of duct is dangerous and it has been known to melt due to heat and even cause fires. I chose to replaced it with the metal duct hose. I used a combination of the more flexible hose because it was easier to get through the floor and would then bend without kinking. I then connected it to a more rigid duct hose that would be sitting just below the first floor and run hidden above the basement ceiling tiles, straight out to the exterior.
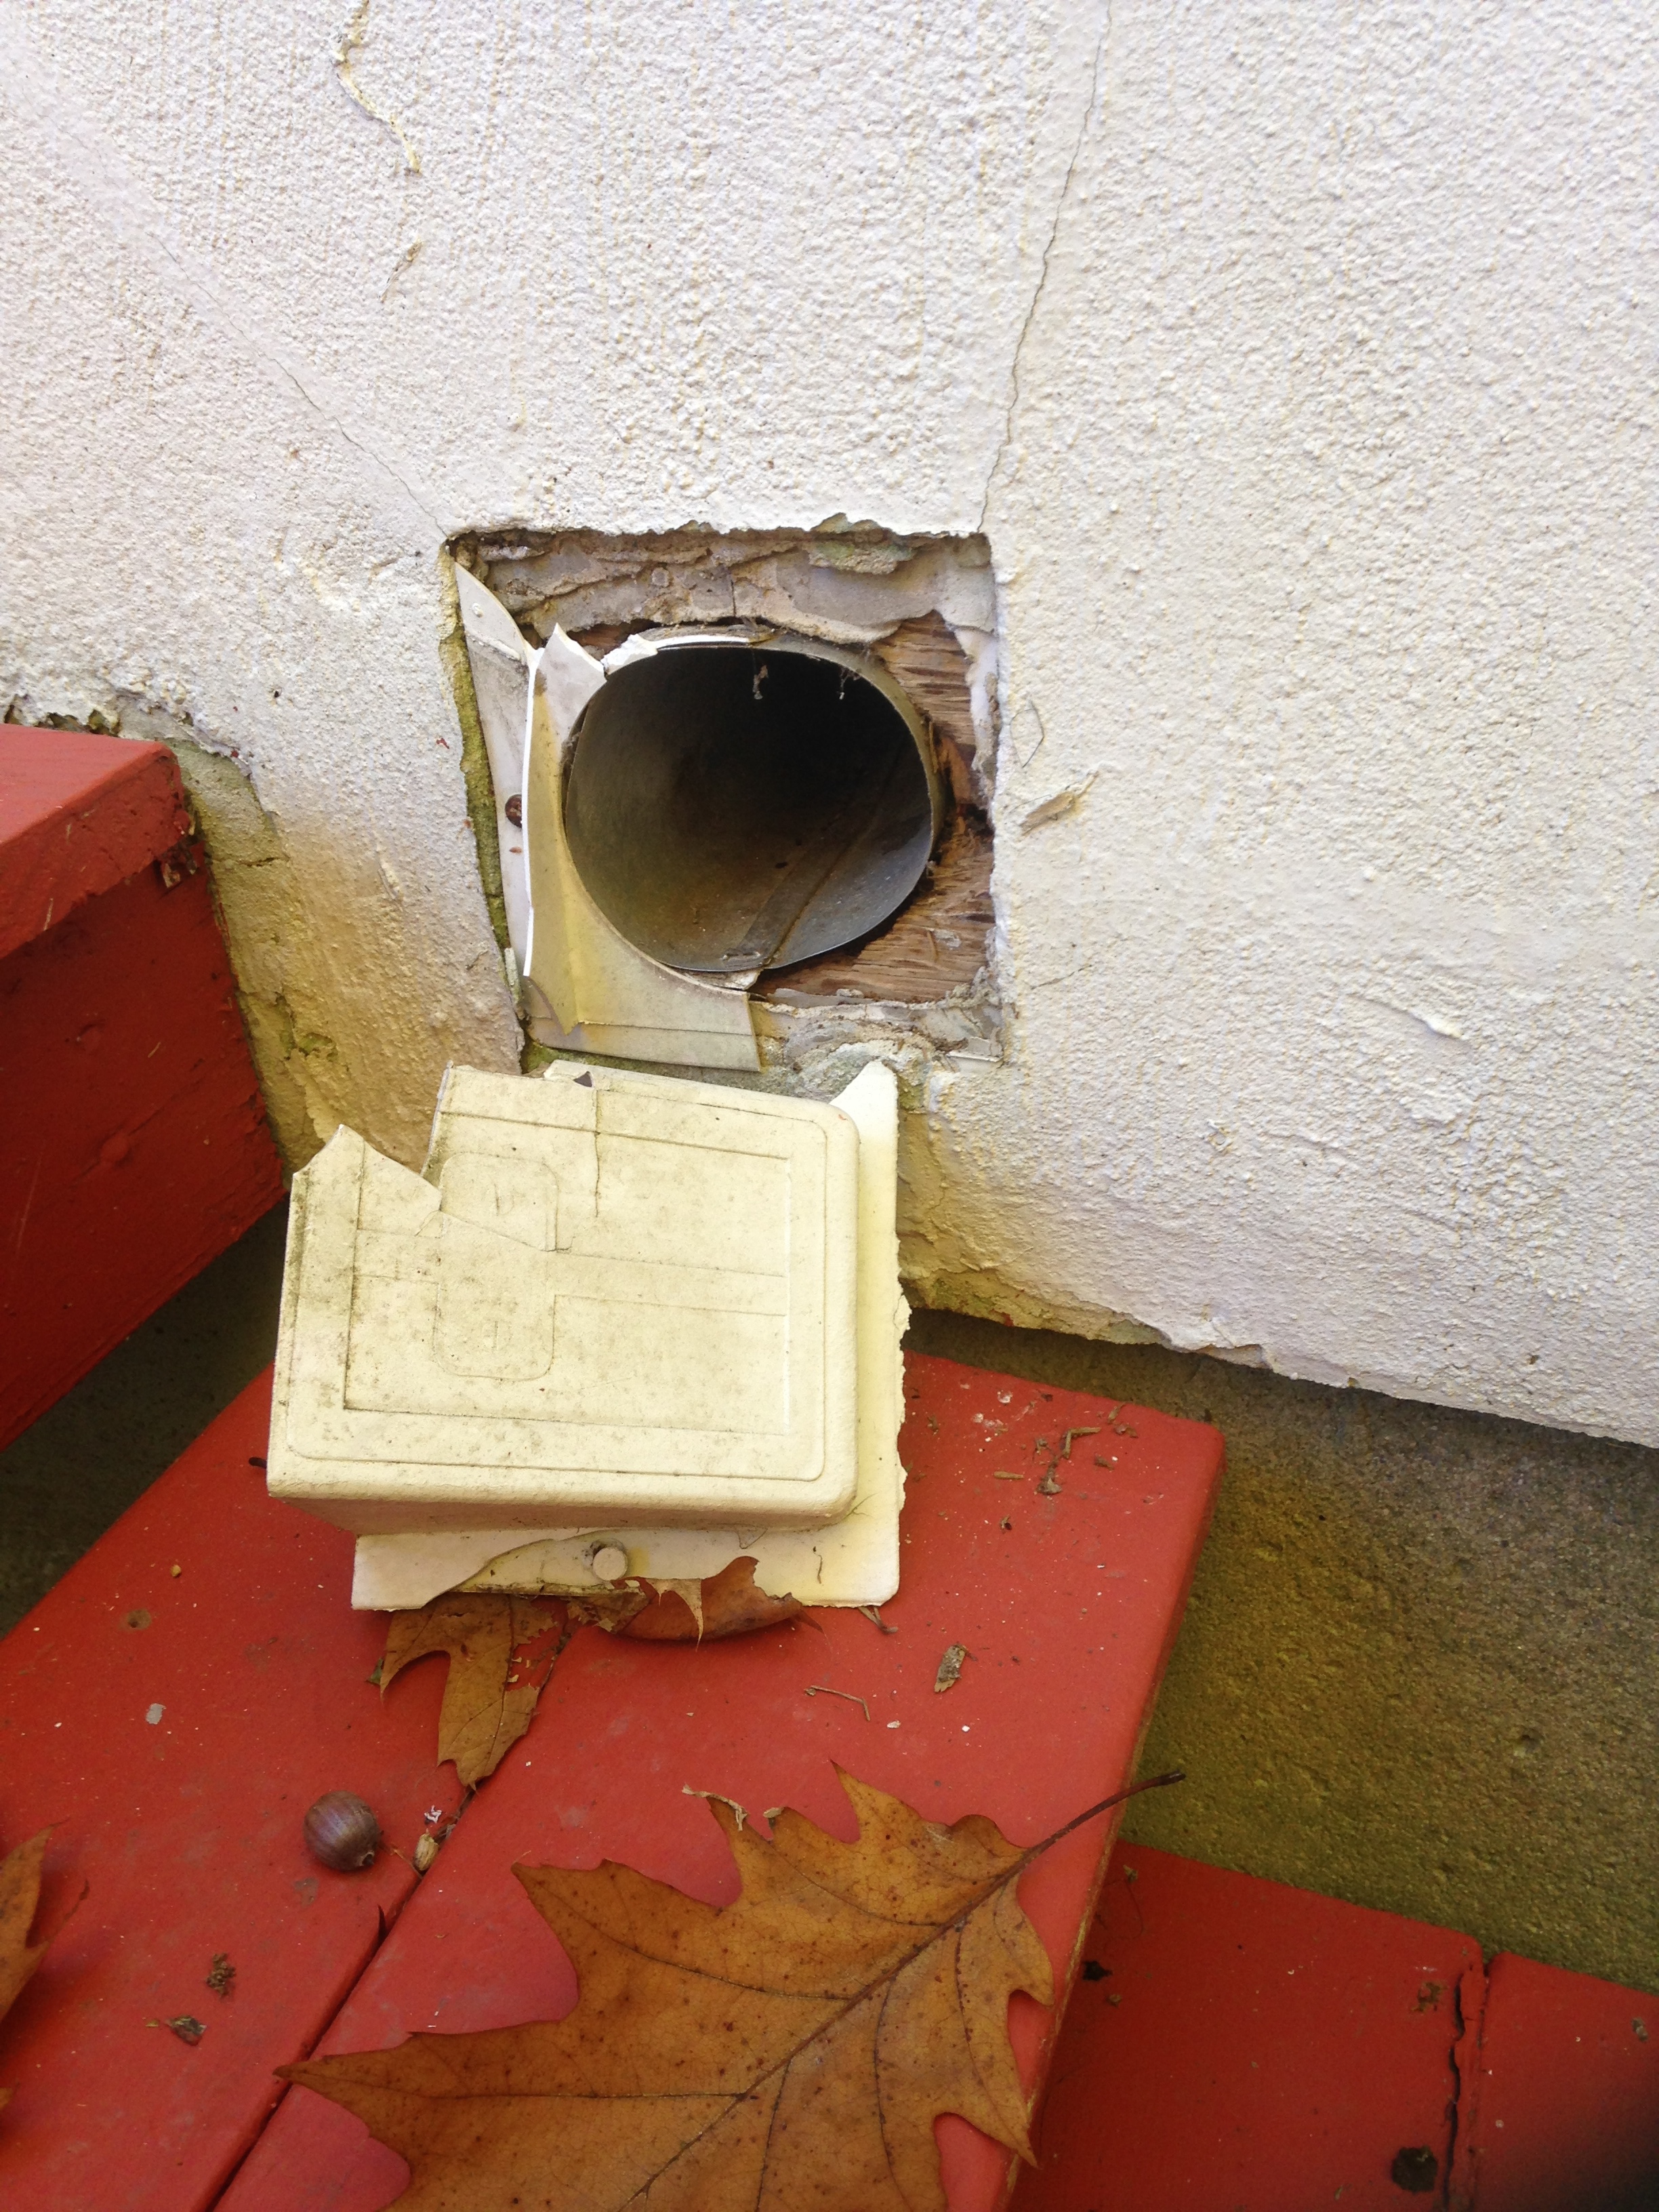
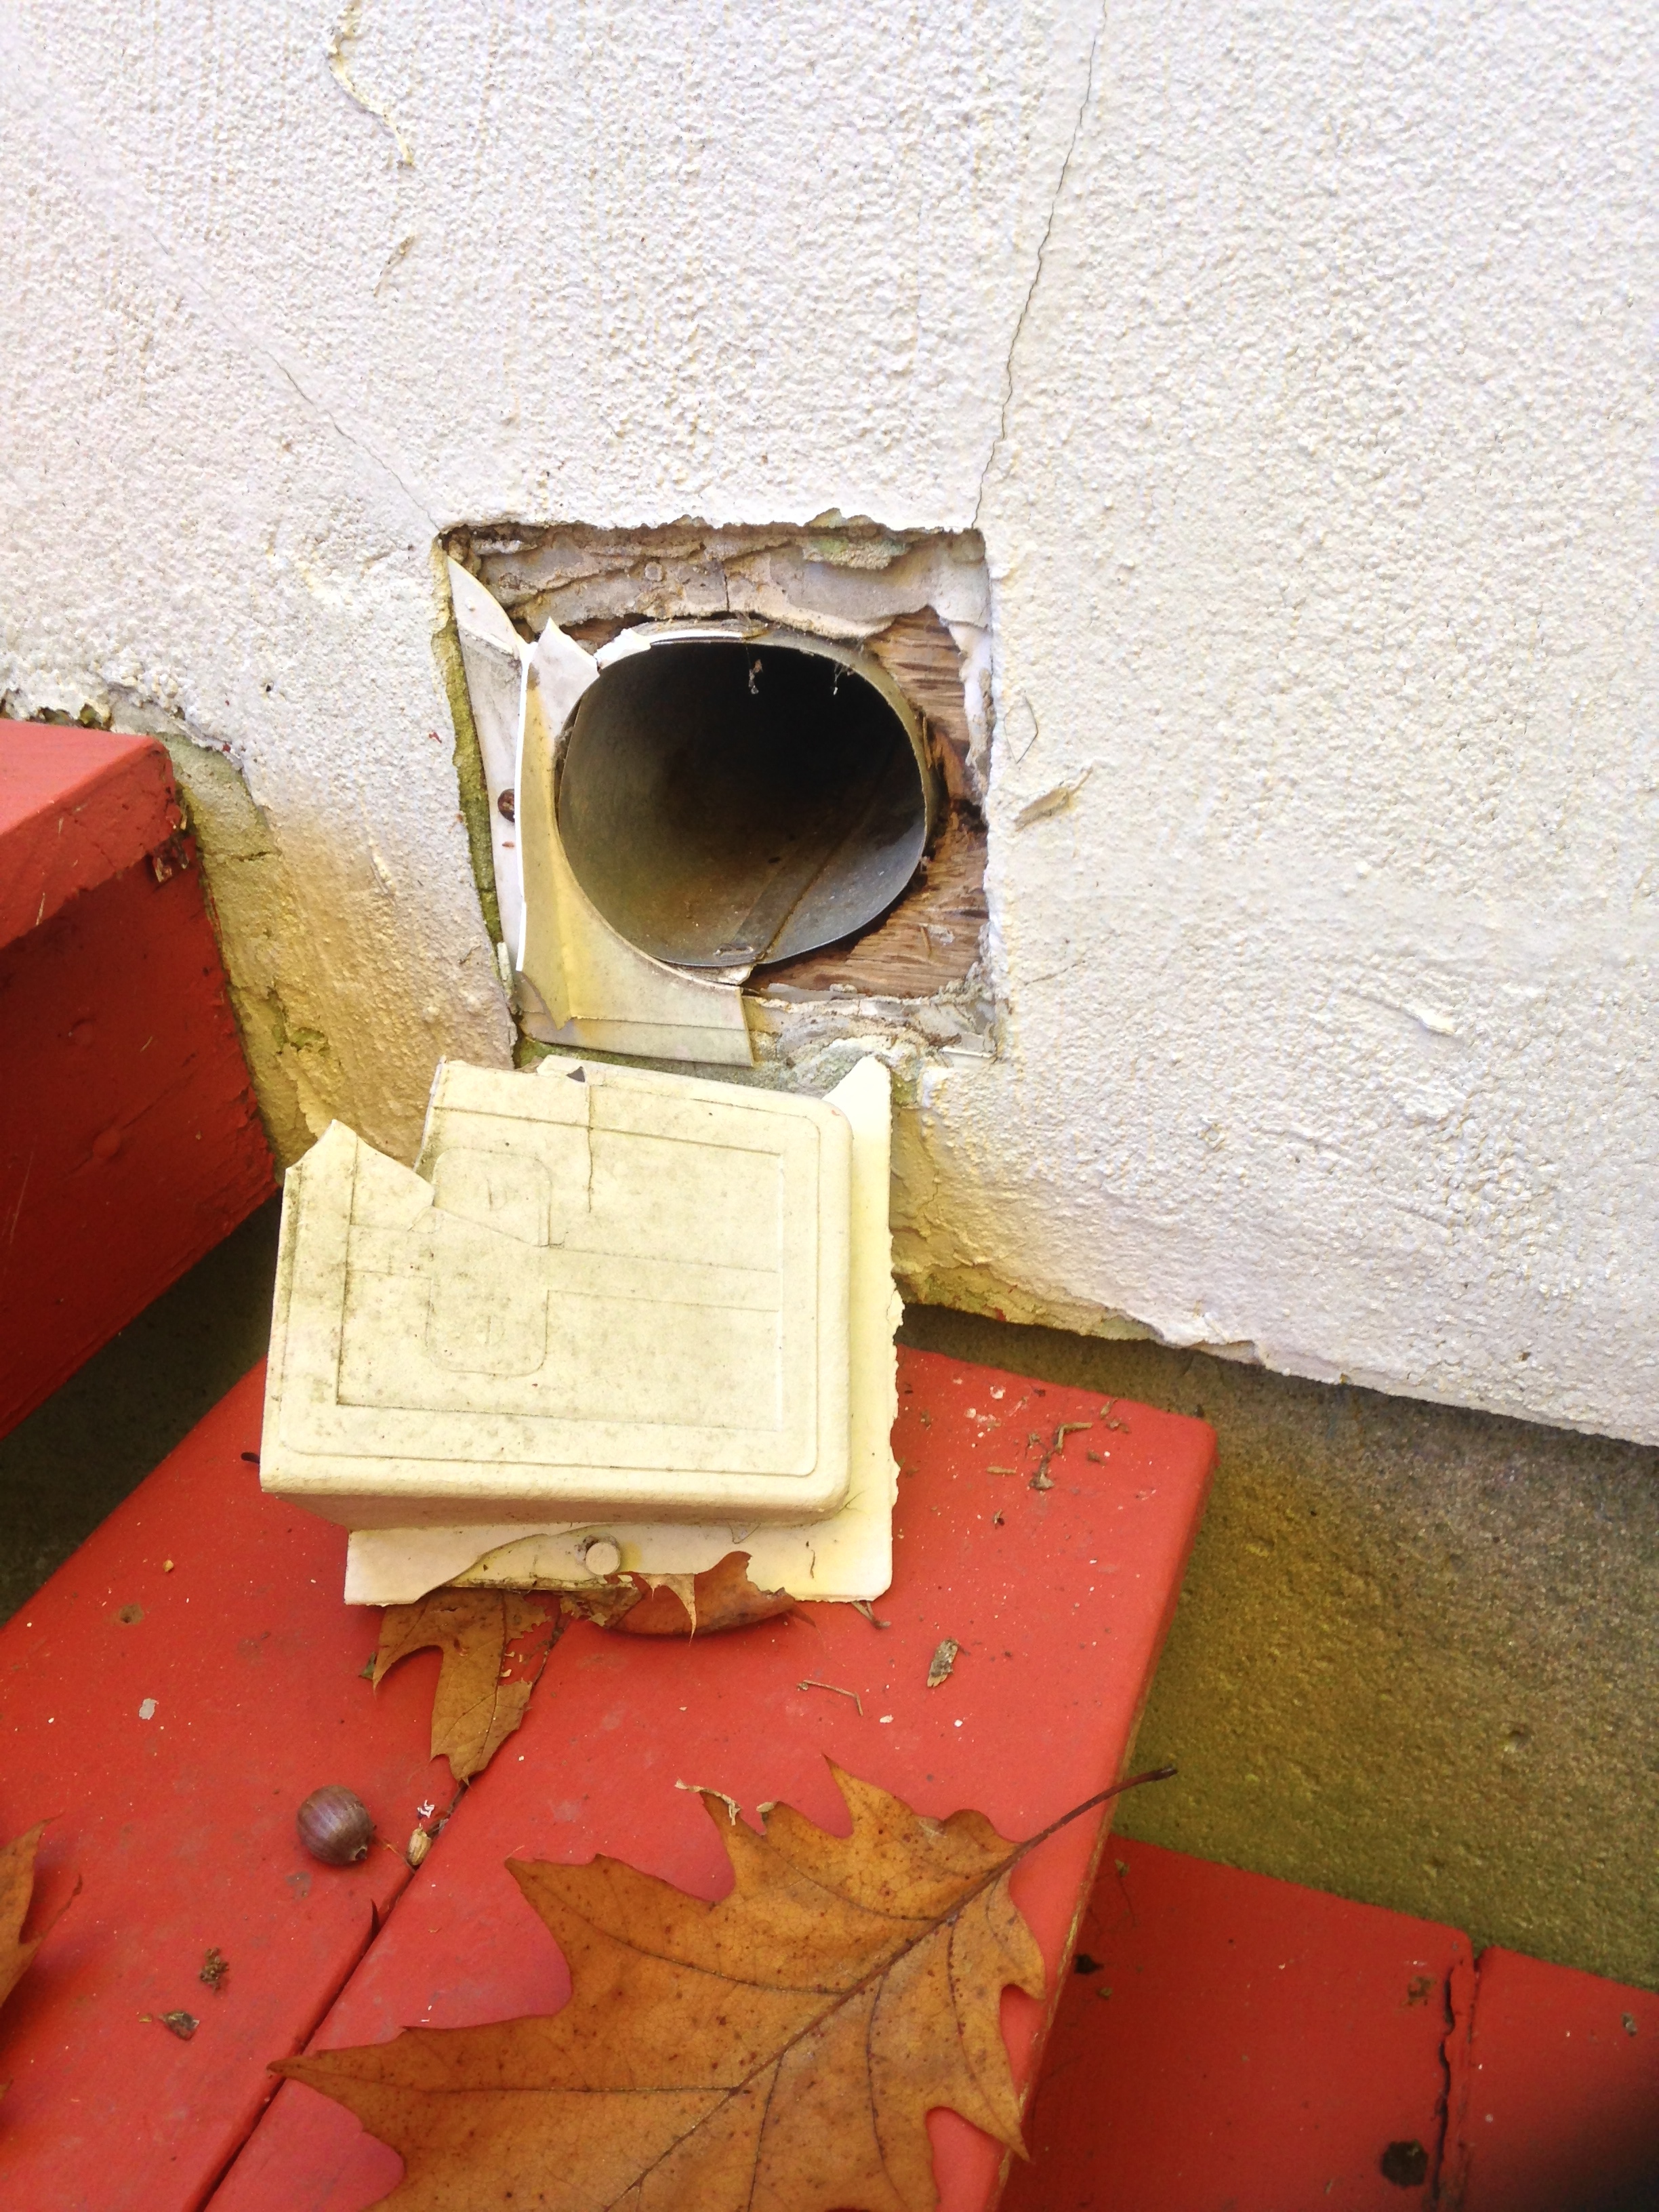
This was wasn’t very hard to do, just menial. I had to drop the ceiling tiles in the basement first and remove the old hose work. Because the house had been vacant for some time before we purchased it and because the exterior vent did not have a rodent cap, I found a ton of acorn shells in the old vent. This finding was proof of a major hazard and confirmed that this upgrade was a necessity.
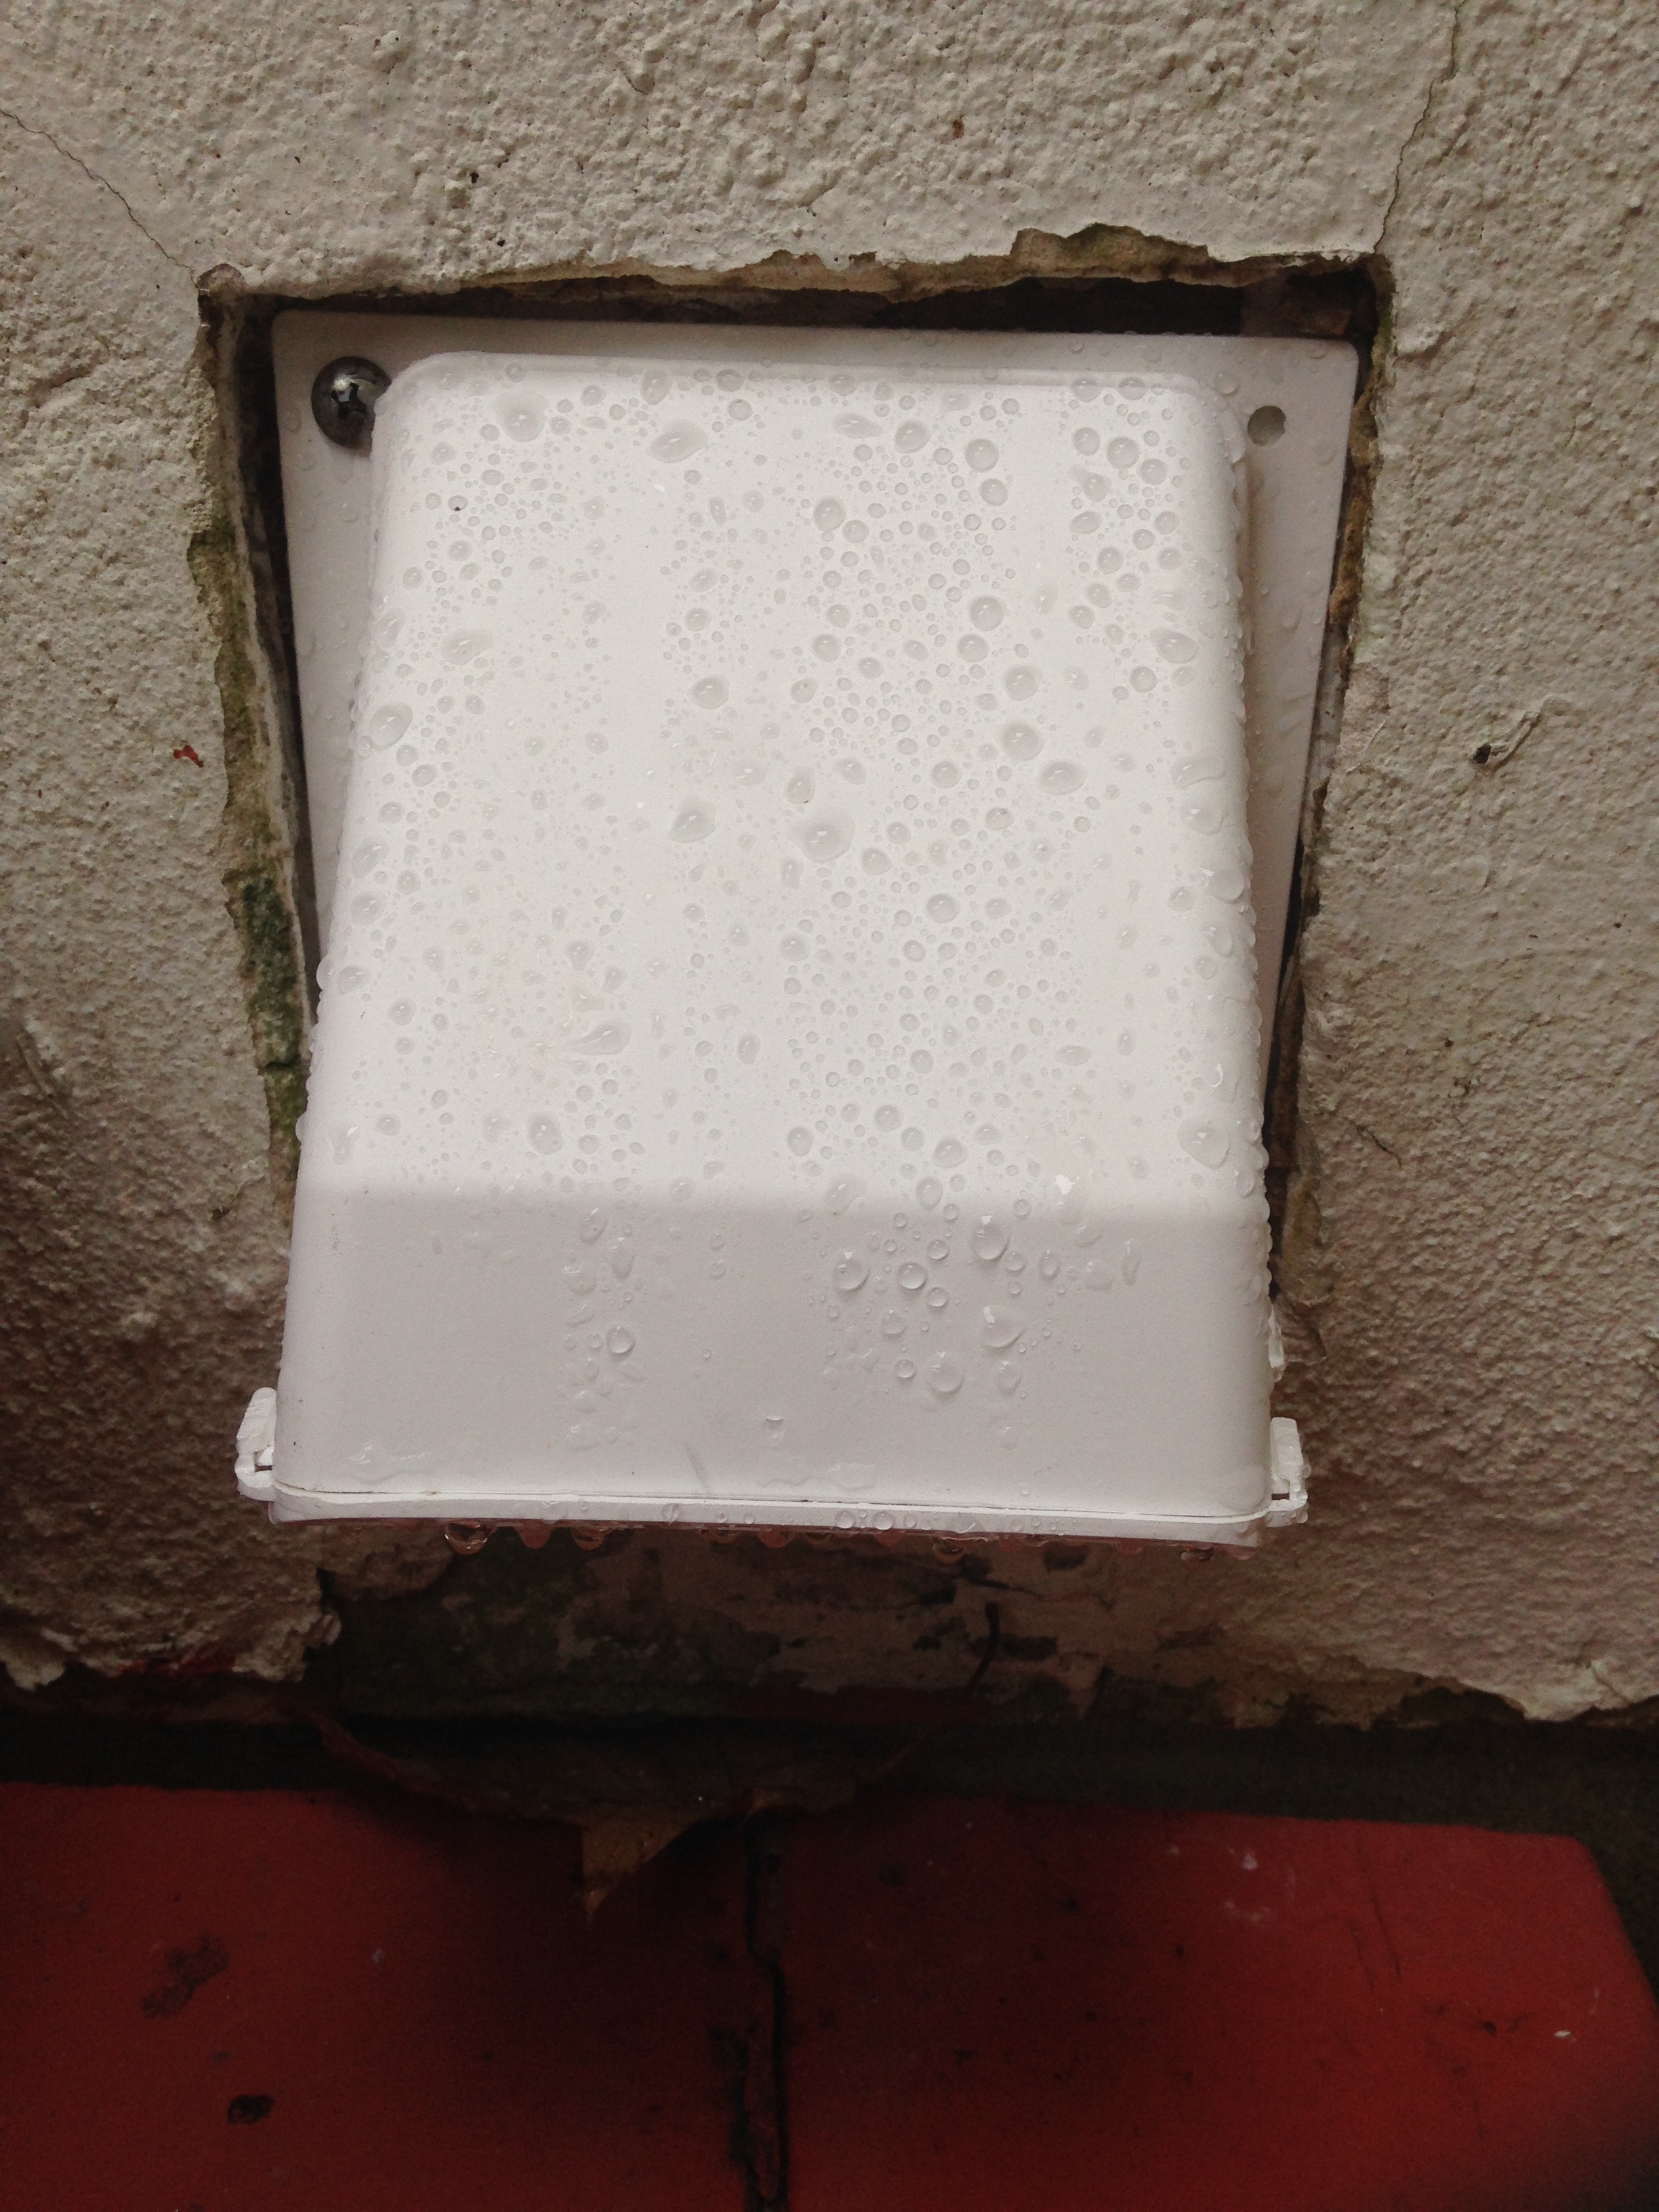
Next, I had to remove and replace the exterior exhaust vent because it was broken and did not have the ability to keep out small animals (and their acorns). Preparing the exterior for the new vent work was the easiest part of the job. I had to chip away at the stucco and try and keep it neat and tidy and in square so that the new cap, which was larger, could fit snugly in place. This took no time at all.
Running the duct through the basement ceiling was the most difficult part of the task. I’m short, so reaching above me and going up and down the ladder so I could weave the duct hose the 20 feet or so, was the annoying after awhile. Overall, it took about 3 hours and was well worth the time.
Off to do laundry.

Good job! We frequently get customers who call with slow-dry complaints, and I tell them that their dryers are fine – it’s their exhaust system that needs fixing. Not only is improper venting a fire hazard, it also impedes your dryer’s ability to work! Our site for DIY appliance repair help (including plenty of dryer vent advice!) is http://www.Appliantology.org. 🙂
Thanks, Sue! I’ve appreciated all of your advice over the last decade. You are the best!